How to Change the KitchenAid Mixer Head- 4 Important Steps
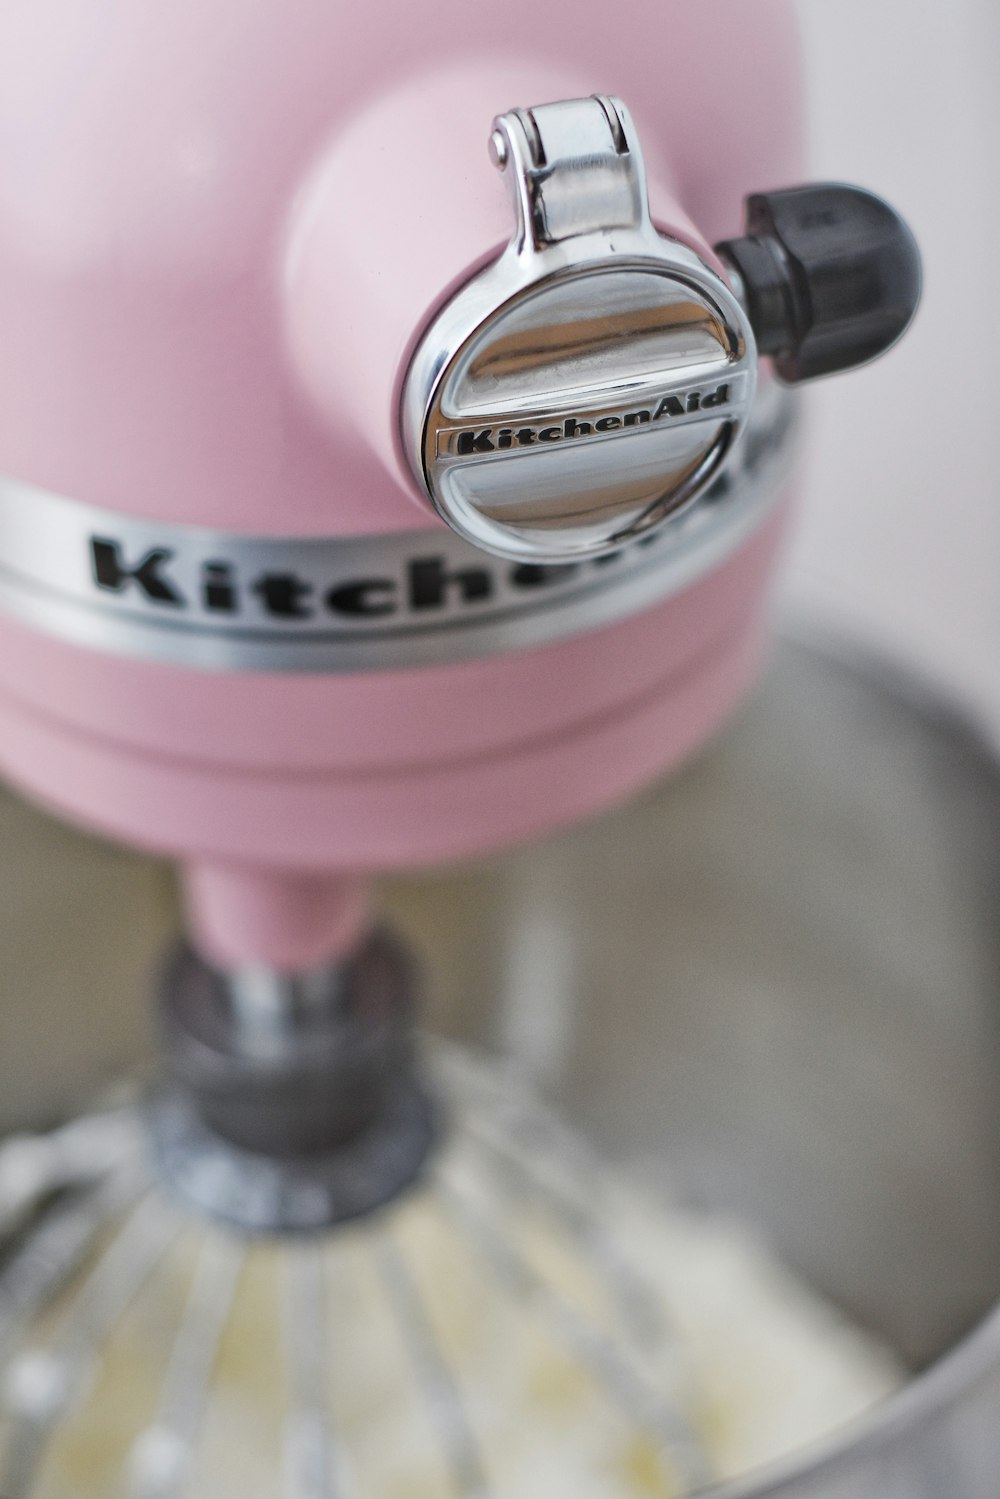
Image Source: Unsplash
If you have a KitchenAid mixer, then you know how much it can help you in the kitchen. Mixers can help you make dough for cookies, bread, and other pastries.
However, with time and usage, your mixer head might get damaged or not work properly anymore. In this post we will tell you how to change the KitchenAid mixer head so that you can continue to use your mixer again.
There are few things that are as useful in the kitchen as a mixer. With so many different models and brands, it can be difficult to know which one is the best choice for your space and needs.
After you’ve decided on a brand and model, you may want to learn more about how different mixer head attachments work with your specific model of mixer.
Whether you’re getting a new mixer or just replacing the old head with new attachments, there are lots of ways to make this appliance fit your needs even better than before. Keep reading for everything you need to know about this helpful piece of equipment!
Your mixer came with different attachments on the day you bought it. Depending on what kind of food you want to make, there are different heads that come with your mixer. Changing them is quite simple and nothing to be afraid of! Here’s how:
What you will need
For this project you will need the following items:
– A screwdriver, if you want to put in a new head. If you want to keep the old head, you will only need an unplugged mixer and a spritz of cleaning solution.
– KitchenAid mixer, if you want to change the head. If you want to clean the old one, you can do it with a hand mixer!
Step 1: Prepare Your Workspace
To change the head on your mixer, you need to unplug it first. Make sure your workspace is clean and clear of any objects that might fall off your table or get in the way of the head.
You don’t want the head or any part of the mixer to fall and break. You can even place a piece of cloth over your table to protect it.
You should also make sure that you have enough space to work. It is always better to work with a mixer that is plugged in than a hand mixer.
If you are going to change the head, you will need space for the new head. If you are going to clean the old one, you will need space to put in the hand mixer.
Step 2: Remove the Old Head
There will be two knobs at the top of the mixer. One is for speed and the other is to select the type of attachment. Using a screwdriver, loosen the knob for the speed of the mixer.
Now, turn the knob for the attachments to change the setting to “off.” Now, take the attachment off. If you are cleaning the old head, spritz it with the cleaning solution and let it sit for a few minutes.
If you are changing the head, put the attachment that came with your new head in place. Now, turn the speed to “on” and select the speed. The attachment should turn with the mixer.
Step 3: Install the New Head
If you bought a new head, follow the instructions below to install it on your mixer. Otherwise, if you are cleaning the old attachment, follow the steps above to put your new attachment on.
Make sure that the head is clean and the parts are dry before you try to put it on the mixer. If it is not clean, it might not fit properly on the mixer and will make cleaning it harder. The head should go on easily. If it does not, you might have the wrong attachment for your mixer.
How do I change the attachment on my KitchenAid mixer?
Changing the mixer attachment is easy. You just have to make sure that you have the right mixer attachment for the food you want to make.
If you are unsure or have forgotten, you can check the owner’s manual of your mixer or the product box where you bought the attachment. To change the attachment, turn the speed knob to the “off” position.
Then, turn the knob to the head you want to use. Make sure that the attachment is not clogged and the holes are unblocked for smooth mixing. Finally, turn the speed knob to “on” and use your new attachment!
How do I remove the top of my KitchenAid mixer?
If your mixer is a bit old or has been used a lot, the attachment might be clogged. If this is the case, you can remove the top of the mixer to make cleaning it easier.
First, make sure that the mixer is unplugged and the speed knob is in the “off” position. Now, use your screwdriver to loosen the screw at the top of the mixer.
Once it is loose, gently pull the top of the mixer off. You can now clean the inside of the mixer without having to worry about getting stuff in the wrong place. You can even clean the beaters inside the mixer.
How do I get the pin back on my KitchenAid mixer?
If your mixer was a bit old and the pin that holds the head in place is missing, you can get a new one. If you bought a new mixer and the pin is missing, you can get a new pin for free. Follow these steps to get a new pin:
– First, turn the speed knob to the “off” position.
– Next, turn the knob for the attachments to select the “off” position as well.
– Now, turn the speed knob to “on” and select the “off” position for the attachments again.
– Finally, use your screwdriver to open the hole on the mixer and put the new pin in place.
How do I put beaters in my KitchenAid hand mixer?
If you are using a hand mixer and want to change the beater, follow these steps:
– First, turn the speed knob to “off.”
– Next, remove the top of the mixer and take out the beater.
– Now, remove the old beater and put in the new one.
– Finally, put the top of the mixer back on and turn the speed knob to “on.”
Conclusion
The KitchenAid mixer is a useful tool for baking and cooking. However, with time, the mixer heads can become damaged and require replacement.
Fortunately, replacing the mixer head is easy and can be done in under 10 minutes. To change the head, make sure your mixer is unplugged and the speed knob is in the “off” position.
Now, remove the old head and replace it with the new one. Your mixer will be as good as new!
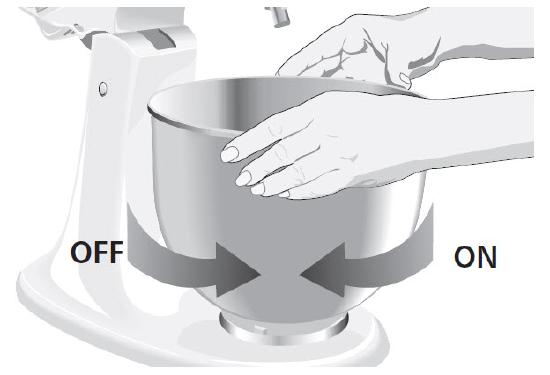
Image Source: ASSEMBLE AND ADJUST A TILT HEAD MIXER
Related Post