How to Prepare the Greasy Kitchen Ceiling for Painting – The Easy Way!
No one likes a greasy kitchen ceiling. It’s not often that you see a ceilings that are clean and free of fingerprints, but it’s definitely the case with many kitchens. Unfortunately, over time, grease and food lingering on your ceilings can lead to a greasy kitchen. To avoid this mess and make your painting process easier, read on!
The Basics of Painting a Kitchen Ceiling
Before you begin painting your kitchen ceiling, it’s important to understand the basics of painting a ceiling. This includes understanding how to mix the paint and what kind of surface you’ll be working on.
Additionally, be aware of the different types of paint available and how they’ll affect your ceiling. Lastly, have a plan in place for painting your ceiling.
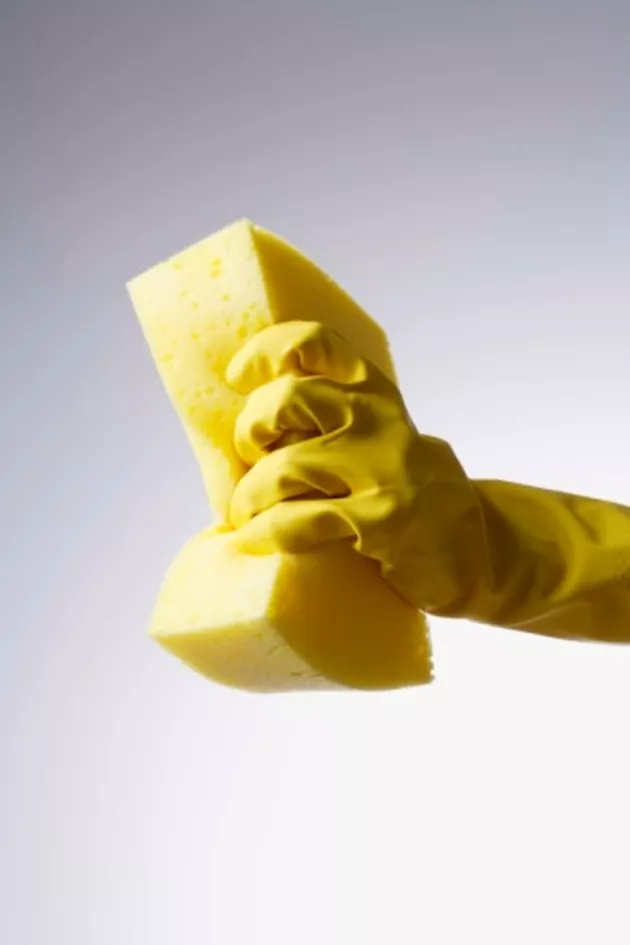
How to Remove Grease from Your Ceilings
There are a few ways to remove grease and food residue from your ceilings. The most common method is to use a hairdryer. This will quickly and easily clean the ceiling and remove any residual food or grease.
Another option is using a paint cleaner. Pour the cleaner over the area that needs cleaning and then use a broom or a vacuum cleaner to suck the cleaner up into the ceiling. Finally, you can use an oven cleaner on areas that have been greasy.
Choose the Right Paint for Your Kitchen Ceiling
Before you start painting your kitchen ceiling, it’s important to choose the right paint for your ceiling. There are a variety of different paint types that can be used for kitchen ceilings. You should also choose the right paint for your surface.
If you have a natural surface like wood, you might want to use a light-colored paint to avoid any orange or yellow colorations. If you have a hard surface like granite, you might want to go with a darker paint to avoid any streaks or blemishes.
If you’re not sure how to choose the right paint for your kitchen ceilings, take a look at our article on how to prepare the greasy kitchen ceiling for painting!
Painting a Greasy Kitchen Ceiling
There are a few things that you need to do in order to paint a greasy kitchen ceiling. You’ll need to clean the area where the ceiling will be painted, remove any food or grease that has built up, and prepare the surface for painting.
1. Clean the area where you will be painting with a soap and water solution. This will help remove any built-up grease and food.
2. Paint the ceiling using a non-toxic paint. Make sure to choose a paint that won’t cause any problems down the road.
3. Wait until all of the paint has dried before moving on to the next step. Do not try to move anything until all of the paint is dry!
Benefits of Painting a Kitchen Ceiling with a Grease-Free Method
There are many benefits of painting a kitchen ceiling with a grease-free method. Here are six of them:
1. Your ceilings will be much easier to clean – This is especially true if you use a sprayer to paint your ceiling. The Spray-On and Top Coat Systems use a non-toxic paint that won’t leave any fingerprints or residues on your walls, cabinets, or ceilings.
2. You won’t have to worry about the greasy mess – This is because the Paint and Clear System leaves no grease or food residue on your ceilings. You simply remove the old paint and clear it away with a vacuum cleaner. This leaves your ceilings clean and free of fingerprints and residue.
3. It’s faster – Once you complete the painting process, you can expect to have the ceiling finished in just a few hours rather than days or weeks as with other methods. This is because the Paint and Clear System uses an automated system that eliminates any post-paint cleanup time.
4. It’s more cost effective – The Paint and Clear System is much more cost effective than other methods when it comes to painting kitchens. For example, you could save up to 50 percent compared to traditional painting techniques when using this system.
Safety Consideration for Painting ceilings
Before you start painting your ceilings, it’s important to make sure that there are no dangerous chemicals or paints left on the ceiling. Many of the common paints and chemicals used in painting can cause skin irritation, hair loss, and other health problems. If you have any questions about these products, be sure to ask a professional before beginning your painting project.
Professional Help for Painting the Greasy Kitchen Ceiling
There are many different ways to paint the greasy kitchen ceiling. Some people use a spray bottle to paint the ceiling while others use a brush and water.
The best way to find out which methods work best for you will depend on the specific project you are working on.
However, some general tips that can help with painting the greasy kitchen ceiling include using a primer, using a resistant cleanser, and using an airbrush.
Additional Tips for Preparing the Greasy Kitchen Ceiling
One of the most important things you can do in order to prepare your ceiling for painting is to clean it. This will remove any food and grease that may have built up over time. Additionally, you should also take care to protect your ceiling with a coating of paint. This will help to keep your ceiling looking clean and free of fingerprints.
Recommendations for Painting the Greasy Kitchen Ceiling
Cleaning your greasy kitchen ceiling is an important part of your painting process. However, it’s also important to consider other recommendations that can help make the painting process easier.
First and foremost, use a degreaser to clean any paint or grease that may have built up on your ceiling. This will help remove any Built-in Marks (mold or damage) and make the painting process much more pleasant and easy.
Additionally, use a hairdryer on high as you work to get rid of any sweat or oils that may have built up on your ceilings over time.
Summary of the Post
In this post, we’re going to teach you how to prepare the greasy kitchen ceiling for painting. This is an important task that will help you get a better result when painting your ceiling. We’ll also cover some of the specific steps you need to take in order to make sure your painting process goes smoothly.
Can You Paint Over Greasy Kitchen Ceiling? It’s Not as Hard as you Think
It’s hard to resist greasy kitchen ceilings. But once you try, you’ll see just how easy it is to paint over them without any vocabulary.
The first step is to get a good, high-quality paintbrush.
Next, prepare your ceiling by spraying it with a non-toxic sealant. This will help keep the paint from getting on your other dishes and walls.
After the ceiling has been sealed, you’ll need to begin painting. Start by using a light hand and painting the surface of the ceiling in a smooth, even manner. You don’t need to be very careful; just make sure that all of the paint is absorbed by the ceiling.
Once the ceiling has been painted, you can start adding details by adding clouds or water droplets. If you’re feeling brave, you can also add some textures by using different types of paint and brushes.
Can you paint over greasy kitchen ceilings?
Yes, you can paint over greasy kitchen ceilings. It’s not as hard as you think! Just be careful not to get any of the paint on your other dishes and walls.
How to prepare your ceiling for painting
You can prepare your ceiling for painting by spraying it with a non-toxic sealant. This will help keep the paint from getting on your other dishes and walls. After the ceiling has been sealed, you’ll need to begin painting.
Start by using a light hand and painting the surface of the ceiling in a smooth, even manner. You don’t need to be very careful; just make sure that all of the paint is absorbed by the ceiling. Once the ceiling has been painted, you can start adding details by adding clouds or water droplets. If you’re feeling brave, you can also add some textures by using different types of paint and brushes.
How to paint your ceiling without anyvocabulary
The first step is to get a good, high-quality paintbrush. Second, prepare your ceiling by spraying it with a non-toxic sealant. This will help keep the paint from getting on your other dishes and walls. After the ceiling has been sealed, you’ll need to begin painting.
Start by using a light hand and painting the surface of the ceiling in a smooth, even manner. You don’t need to be very careful; just make sure that all of the paint is absorbed by the ceiling. Once the ceiling has been painted, you can start adding details by adding clouds or water droplets. If you’re feeling brave, you can also add some textures by using different types of paint and brushes.
Tips for adding details to your ceiling with paint
If you want to add more details to your ceiling with paint, here are some tips:
– Use a light hand when painting the surface of the ceiling. Don’t overdo it and accidentally damage the structure of the ceiling.
– Paint in a smooth, even manner. Do not use too much or too little paint, as this will affect the results of your painting.
– Allow the paint to dry completely before adding any additional details. This will ensure that all of the details are visible upon removal of the paint.
Conclusion
If you have a greasy kitchen ceiling, it’s not as hard as you think to paint over it! Here are some tips to help you get started:
1. Preheat your room and prepare the ceiling by wiping down any surfaces that may be greasy.
2. Pour a thin coat of paint over the surface that isgreasy and wait for it to dry.
3. Once the paint has dried, use a hairdryer or a vacuum cleaner to remove any excess paint.
4. To add details to your ceiling, you’ll need to add light fixtures, blinds and other accessories.