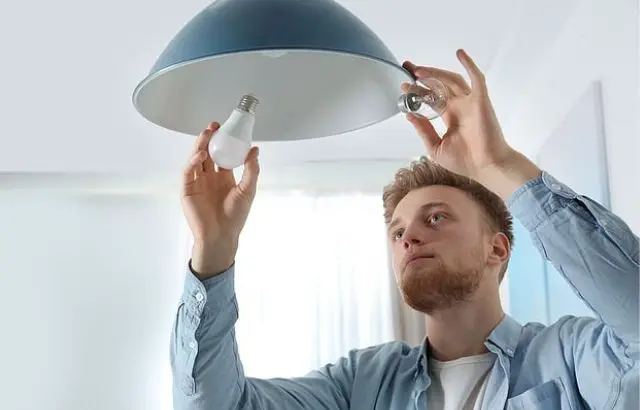
How to Change a Kitchen Ceiling Light Bulb – The Easy Way
When it comes to changing a kitchen ceiling light bulb, there are a few things to keep in mind.
First, make sure you have the correct tools and supplies to do the job properly. This includes a light bulb remover, a screwdriver, and some cautionary advice about how to touch the lightbulb.
If you don’t have any of these items, be sure to get them before starting. Second, make sure you have an adequate space for your work area.
This means that your kitchen cupboards and shelves must be plenty wide enough to fit at least two bulbs. Third, always use caution when working with bulbs. Be sure not to touch them directly or allow them to fall into any water or food sources. Finally, be sure to read the directions carefully before starting.
Overview of How to Change a Kitchen Ceiling Light Bulb
Once you have the tools and supplies necessary to do a proper job, it’s time to begin. First, take off your kitchen ceiling light bulb cover. Then, use a Screwdriver to remove the screws that hold the light bulb in place.
Next, use a Light Bulb Remover to remove the kitchen ceiling light bulb. Be sure not to touch the bulb or any of its parts with your hands; do this at least two times before starting.
Once the light bulb has been removed, be sure to place it in a new location and screw back in the screws.
What You Need To Do To Change a Kitchen Ceiling Light Bulb
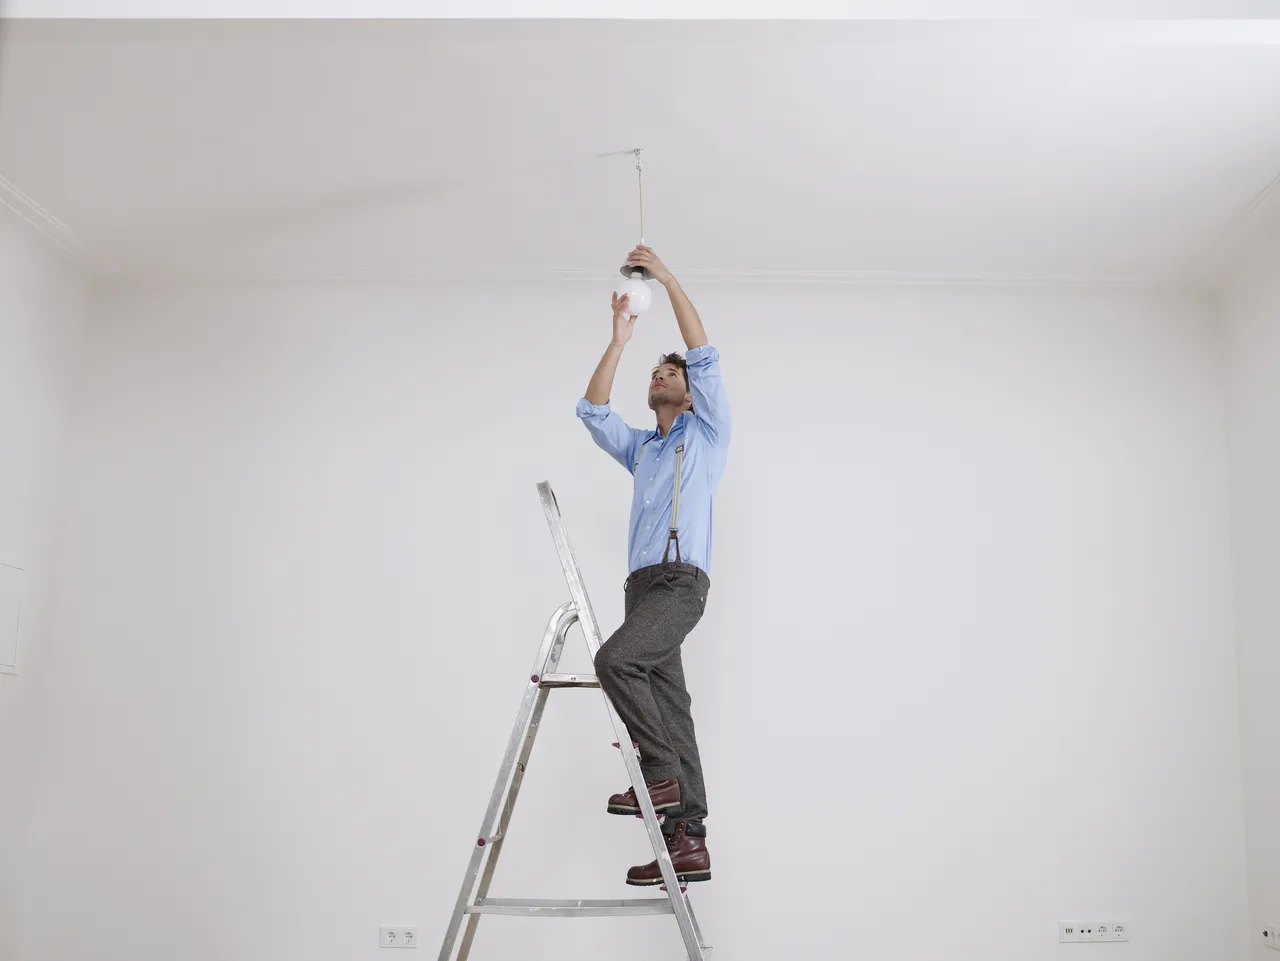
1. Remove the old light bulb from the fixture.
2. Place the new light bulb in the appropriate spot on your kitchen ceiling.
3. Use a screwdriver to attach the light bulb to the fixture.
4. Turn on the light switch and enjoy your new light bulb!
The Method for Change a Kitchen Ceiling Light Bulb
To change a kitchen light bulb, you’ll need the following:
– A light bulb remover
– A screwdriver
– Some cautionary advice about how to touch the kitchen ceiling light bulb
– An adequate space for your work area
– Two bulbs
Caution When Changing a Kitchen Ceiling Light Bulb
1. Make sure you have the correct tools and supplies to do the job properly. This includes a light bulb remover, a screwdriver, and some cautionary advice about how to touch the lightbulb.
2. If you don’t have any of these items, be sure to get them before starting.
3. Always use caution when working with bulbs. Be sure not to touch them directly or allow them to fall into any water or food sources.
4. Be sure to read the directions carefully before starting.
How to Verify That the New Lightbulb is Fit for Use
Once you’ve determined that you have the correct tools and supplies, it’s time to start the job of changing a kitchen ceiling light bulb.
To begin, remove the old lightbulb by unscrewing it from its socket. This is done by using a screwdriver to pry the bulb off of the socket.
Next, take the new bulb and place it into the same socket. Screw the old lightbulb back into itssocket. Finally, replace the screws that came with the lightbulb.
Recommendations for How to Change a Kitchen Light Bulb
If you’re looking for a simple and easy way to change a kitchen light bulb, we recommend using a plunger. This approach is particularly effective when the kichen ceiling light bulb is stuck in a position that’s difficult or impossible to reach. Simply place the plunger over the top of the light bulb and use gentle pressure to push and pull until the light bulb pops out.
Professional advice for changing a kitchen light bulb
If you’re ever going to change a kitchen light bulb, make sure to have the right tools and supplies. This includes a light bulb remover, a screwdriver, and some safety tips about how to touch the bulb.
Additionally, be sure to have an ample space in your kitchen for your work area. If you don’t have enough space, make sure to purchase bulbs that are at least two feet wide.
Finally, always use caution when working with bulbs. Be sure not to touch them directly or allow them to fall into any water or food sources.
Summary
When it comes to changing a kitchen light bulb, be sure to have the correct tools and supplies. Additionally, make sure you have an adequate space for your work area and use caution when working with bulbs. Finally, read the directions carefully before starting.
How to Change a Downlight Bulb in a Kitchen – The Easy Way!
Changing a downlight bulb is a common task in the kitchen, and it can be pretty simple if you know how. Here are some tips to help you change a downlight bulb in a kitchen:
1. Open the light switch. This will enable you to see what’s going on inside the bulb.
2. Look for the white lightbulb. This is the light that’s coming from the ceiling and is responsible for most of your light in a kitchen.
3. Look for the red lightbulb. This is responsible for all of the light that’s coming from the bulb itself and is usually located near the ground.
4. Place a hand over one of the white lightbulbs and touch the other white lightbulb. You should now see two different types of light coming from the two bulbs. The first type of light is called “regular” or “office” light, and it
What kind of light comes from a downlight bulb?
The kind of light that comes from a downlight bulb is called “regular” or “office” light. This type of light is usually located near the ground and is responsible for most of your light in a kitchen.
How do you change a downlight bulb in a kitchen?
To change a downlight bulb in a kitchen, you first open the light switch. Then, look for the white lightbulb and the red lightbulb. The white lightbulb is usually the one that’s facing you when you open the light switch. The red lightbulb is usually the one that’s facing away from you when you open the light switch.
You can touch one of these bulbs and see which one is actually turning on. If the red bulb is turning on, then you know that it’s time to change the downlight bulb.
Otherwise, if the white bulb is turning on, then it probably means that there are still some problems with your downlight bulb and you should take it to a professional to fix it.
How do you know if your downlight bulb is working properly?
If you’re having trouble seeing anything in your kitchen or you feel like your light is not as bright as it used to be, it might be time to replace your downlight bulb. Downlight bulbs are generally easy to replace, but there are a few things to remember if you don’t know how:
1. Look for the white lightbulb and the red lightbulb. If the white lightbulb is missing or has a different color than the other two, it might be time to replace it.
2. Be familiar with the replacement part number. This will help you identify which downlight bulb you need.
3. Open the light switch and touch one of the white lightbulbs. You should now see two different types of light coming from the two bulbs. The first type of light is called “regular” or “office” light, and it’s usually pretty bright. The second type of light is called “downlight,” and it’s usually much less bright. If you can’t see any regular or downlight light coming from your white lightbulb, then your downlight bulb is probably not working correctly.
How do you change a downlight bulb in a hurry?
If you want to change a downlight bulb in a hurry, the best thing to do is to call a professional. Downlights can take a long time to change, so if you don’t have time to wait for a professional, you may have to find another way to light up your kitchen.
What’s the best way to store your downlight bulbs?
The best way to store your downlight bulbs is to put them in a cool, dark place. If you put your downlight bulbs in a warm, sunny place, they will get too hot and start to flicker. This could damage the bulb and make it difficult to use.
Instead, store your downlight bulbs in a cool, dark place where they won’t get too hot. You can also put them in a safe place where they won’t be touched or disturbed.
Benefits of Changing a Downlight Bulb in a Kitchen
Downlight bulbs can be a pretty important part of your kitchen. They allow you to see what’s going on inside the bulb, and they also play an important role in the overall function of your kitchen. Because downlight bulbs are so important, changing them can have a really positive impact on your kitchen. Here are some of the benefits of changing a downlight bulb in a kitchen:
1. You’ll get more light in your kitchen.
2. The downlight bulb will be more consistent and will look better over time.
3. You’ll save money by not having to replace your downlight bulb every year or two.
Additional Tips for Changing a Downlight Bulb in a Kitchen
If you’re trying to change a downlight bulb in a kitchen without any help, it’s possible to do it on your own. However, some tips to follow if you want to successfully change a downlight bulb in a kitchen:
1. Turn off the power to the house before beginning. This will enable you to safely work with the bulb.
2. Be sure that the light switch is off before reaching for the bulbs. If you touch one of the bulbs and turn on the power, you might accidentally turn on the other bulb as well.
3. Use gloves when changing the bulb. There are chemicals in some light bulbs that could cause skin irritation or even cancer.
4. Make sure that you have a space large enough to place the new downlight bulb and that there are no obstacles between it and the light switch.
5. Wait until all of the lights in your kitchen have turned off before removing the old downlight bulb from its socket and placing the new one into its place.
Safety Consideration When Changing a Downlight Bulb
Be sure to read the safety guidelines that come with your downlight bulb before you start. These guidelines will tell you how to change a downlight bulb in a way that is safe for you and your family. With careful consideration, you can change a downlight bulb without any problems.
Professional Help for Changing a Downlight Bulb
If you’re having difficulty changing a downlight bulb in your kitchen, don’t worry. There are plenty of professionals who can help you out. hired by home, a professional will come to your home and change the downlight bulb for you. This is a convenient and affordable option, and it’s sure to save you time and hassle.
Summary of How to Change a Downlight Bulb in a Kitchen
If you want to change a downlight bulb in a kitchen, you first need to open the light switch. Next, look for the white lightbulb and the red lightbulb. The white lightbulb is usually located near the ground and is responsible for most of your light in a kitchen.
The red lightbulb is responsible for all of the light that’s coming from the bulb itself and is usually located near the ceiling. Place your hand over one of the white lightbulbs and touch the other white lightbulb. You should now see two different types of light coming from the two bulbs.
The first type of light is called “regular” or “office” light, and it should be on full power. The second type of light is called “downlight” or “low” light, and it should be off completely. If you see any orange or yellow lights coming from either bulb, then your downlight bulb has gone out. To fix this problem, you will need to replace both bulbs.